
How to make your own worksheets using Canva
- LifeandHomeschooling

- Apr 26, 2019
- 3 min read
Updated: May 8, 2019

Are you a homeschooler or a teacher who want to start making your own worksheets either for personal use or to start a business? This post is for you. Here's how I used Canva to make worksheets for both personal and business use.
What is Canva?
Canva is a tool where you can create designs for almost everything! You can create designs for personal use like worksheets, posters, invitations, business cards, and even post cards. You can also create beautiful designs for anything social media like Facebook post or cover, Instagram post, and Pinterest graphics.
Canva's drag-and-drop feature and layouts to design, is so easy and fun to use! Learn more about what Canva is here. The best thing about Canva is it is FREE to sign up. The free version is enough to help you create amazing designs.
Here are some of my worksheets created through Canva and made extra money from them too!


The first thing to do is to sign-up of course. Once you're singed-up you can start creating fun worksheets for your kids or for your business.
Let's get started now that you're signed-up!
1) Press the Home button on the left side of the screen.

2) Go to the search bar and type in, Worksheet.

3) An empty blank white page will appear. On your very left are the the different tools you could use to make your worksheet. Here's a simple explanation for each tool. The best way to learn is to not be afraid to click on buttons. Click each one and learn how each tool could help you. Experiment! Use the blank white page on the right side to see how each button works before you make your worksheet or design.

4) Here's what I do. I write my text on the top first using the text tool. I usually use the add a subheading option and edit the font myself. Though for fun I use the sample templates Canva have and edit those myself as well.
Here's how to edit the, "add a subheading" tool. Click add a subheading. That will appear as is on your blank white page. Edit the text and drag it any where you want that text to be.

Once you've placed it on your desired location. You can edit the font by clicking on the trocchi font and choose from there. You can also edit the color of your font by clicking on the colored square located next to the font size.
5) Next, use the elements tool to create a box for your worksheet. I usually use the free square box. You could change the size of this box however you want and you could also change it's color as well by clicking on the colored square as well on the top.

6) Next, you could design your worksheet by using the uploads tool. You could get free pictures from pixabay, pexels, or from unpsplash. I usually search for vector graphics as these are more appealing to kids. Once you've downloaded an image to your computer you can then add that to your uploads tool. Those images will be there and saved unless you delete them.
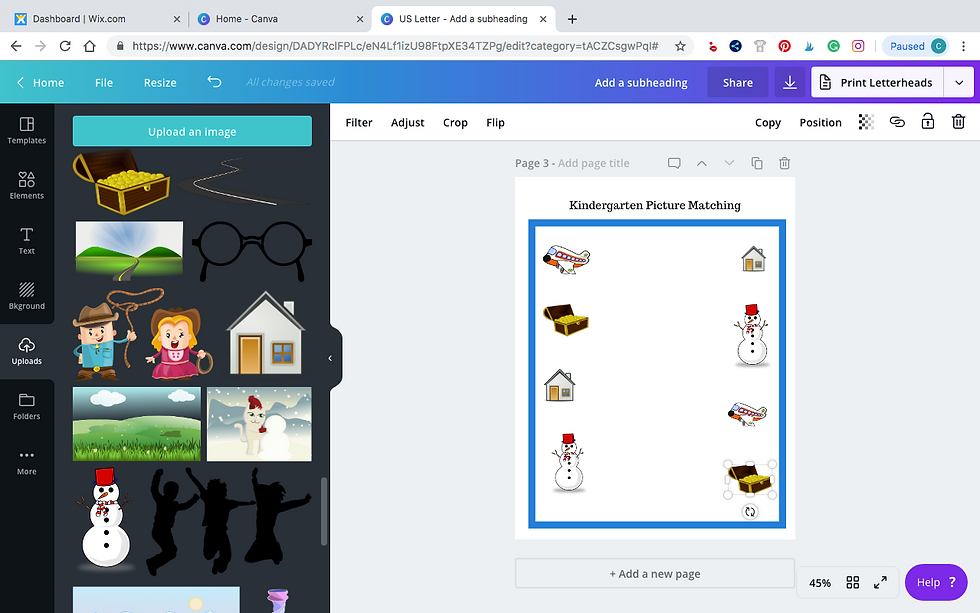
You could add as many images as you want and you can resize each image as well.
Use the elements tool to get different shapes to use for your worksheets. Use the uploads tool to get images. Use the text font and be creative with it.

7) You could add more pages by clicking the add a new page button at the bottom of your worksheet. You could copy the same worksheet again by clicking the copy button (two paper image next to the trash can) on top of your worksheet, it is next to the trash button so be careful.
8) DONE! Easy peasy! If you made a single page worksheet then you can download it as PNG. If you've made multiple pages and want it to print as a book then download it as PDF. The download option button is on the top part of your screen next the the share button.
9) Go ahead! Make your own worksheet now! Enjoy Canva!!!


This is a really useful guide on creating custom worksheets with Canva. The step-by-step approach makes it easy to understand. For anyone looking to demonstrate the worksheet creation process, recording the screen with audio using a resource like more info would be beneficial for creating instructional videos. The post is a great resource for homeschoolers and educators alike.
hello. how do you make the tracing an animal sheet and connect the dots sheets?
I love canva and use it myself, great tutorial giving the legalistic of it. I will have to try making worksheets for my small group and for my kiddos